
So you’ve started your seedlings indoors, they’ve grown into healthy little plants, and you’re finally ready to get them into the garden. Exciting, right?
Many gardeners get to this stage and think, “They’re ready to go!” They carefully transplant their beautiful seedlings outside, only to find them wilted, sunburned, or struggling a few days later. I’ve seen it happen many times, and if I’m being honest, I made the same mistake myself when I first started gardening.
The problem usually isn’t the seedlings—it’s that they missed one very important step: hardening off.
Hardening off is simply the process of gradually introducing indoor-grown seedlings to the outdoor environment. Inside your home or greenhouse, plants are protected from intense sunlight, wind, fluctuating temperatures, and drying conditions. Moving them directly into the garden can be a real shock to their system.
The good news is that hardening off is easy. It just requires a little time and patience.
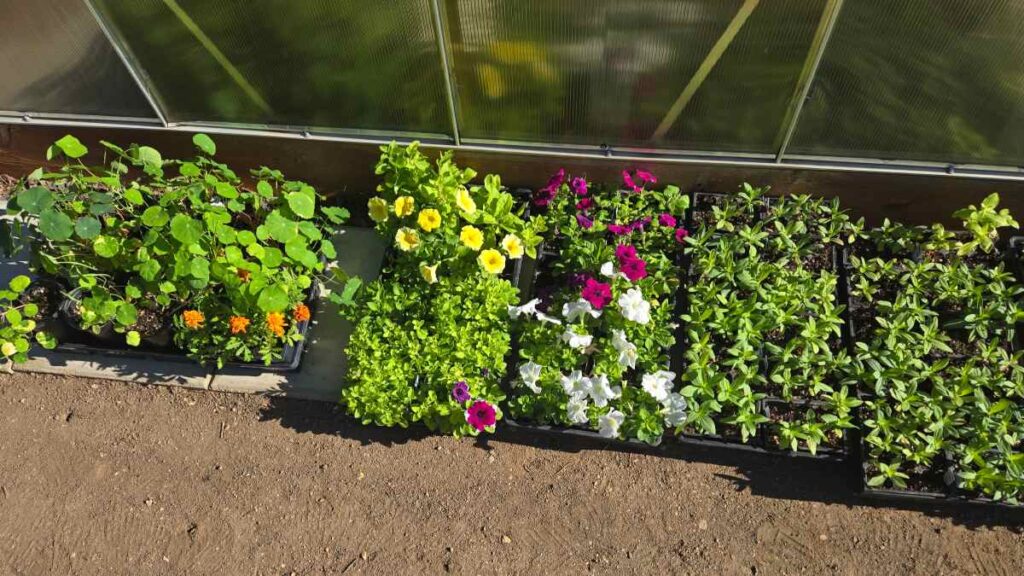
I like to begin the hardening-off process about a week before I plan to transplant my seedlings into the garden. Start by placing them outdoors in a sheltered, shady location for a few hours. On the first day, I usually leave them outside for about two to three hours.
Over the next several days, gradually increase the amount of time they spend outdoors. As the week progresses, slowly introduce them to more sunlight. By the end of the hardening-off period, your seedlings should be spending most of the day outside and receiving several hours of direct sun, depending on the crop.
Unless nighttime temperatures are warm enough for the plants you’re growing, be sure to bring them back inside each evening. Then repeat the process the next day, allowing them to spend a little more time outdoors.
After about a week, your seedlings will be much better prepared to handle life in the garden.
Tips for Successful Transplanting
Once your seedlings are hardened off, it’s time to get them planted. Here are a few things I’ve learned over the years that can help give them the best possible start:
Plant on a cloudy day if possible. If Mother Nature doesn’t cooperate, try planting in the late afternoon or early evening when the sun isn’t as intense.
Protect young plants from wind. Strong winds can quickly dry out and damage newly transplanted seedlings. Row covers, cloches, or even simple wind barriers can make a big difference.
Know your last frost date. This is one of the most important dates a gardener can learn. Some crops can tolerate cooler temperatures, while warm-season plants like tomatoes, peppers, and cucumbers need to wait until the danger of frost has passed.
Check your soil temperature. Over the years, I’ve found that soil temperature is often just as important as air temperature. Warm-season crops planted into cold soil usually sit and sulk instead of growing.
Keep an eye on the weather forecast. Spring weather can be unpredictable. If an unexpected cold snap is on the way, be prepared to cover and protect your seedlings.
I know hardening off can feel like one more task added to an already busy gardening season. When you’re staring at a tray of healthy seedlings and a freshly prepared garden bed, it’s awfully tempting to skip this step and get planting. Trust me, I’ve been there.
More than once I’ve convinced myself that “they’ll be fine,” only to watch my seedlings look like they’ve had the worst day of their lives by the next afternoon. After more than 30 years of gardening, I’ve learned that a little patience goes a long way. Give your plants a week to adjust, and they’ll reward you with stronger growth, less transplant shock, and a much happier start in the garden.
Happy Gardening!
Debbie 🌿❄️🌸
Cold Climate Gardens
Helping Zone 3 & 4 Gardeners Grow with Confidence