
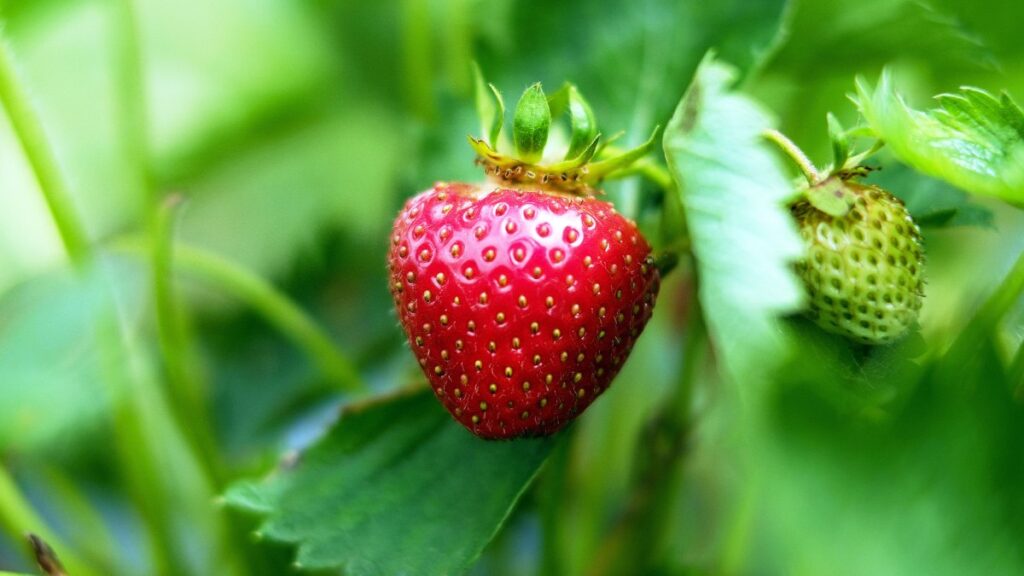
Have you ever wondered how to grow more strawberry plants without buying more plants every year? If you already have healthy strawberry plants growing in your garden, you may have everything you need right in front of you.
One of my favorite things about growing strawberries is how easily they make new plants for us. Every summer, our established strawberry plants send out runners with little baby plantlets attached. Instead of letting those runners grow wherever they please, I like to take advantage of them and start new strawberry plants for the garden.
We’ve been growing strawberries for a number of years, and they have become one of those crops I look forward to every summer. There is nothing quite like walking out to the garden and picking fresh, ripe strawberries. And because we usually have more strawberries than we can eat fresh, I freeze quite a few to enjoy throughout the year.
Those frozen strawberries are wonderful for pies, ice cream, homemade strawberry syrup, and one of my favorites—strawberry crisp. So when I can grow more strawberry plants without spending money on new plants, I’m all for it!
The good news is that propagating strawberries from runners is incredibly easy. You don’t need any special equipment or gardening experience. With a small pot, some potting soil, a way to hold the plantlet in place, and a little patience, you can create new strawberry plants right from the ones already growing in your garden.
What Is a Strawberry Runner?
If you’ve grown strawberries before, you’ve probably noticed long, thin stems growing out from the mother plant. These are called runners, and they are one of the easiest ways strawberries reproduce.
As the runner grows away from the mother plant, it eventually produces a small plantlet. You’ll see tiny leaves developing, and if you look closely at the bottom of the plantlet, you’ll notice a small node where roots will eventually form.
Once that little plantlet comes into contact with soil, it can begin developing its own root system. The plantlet is still connected to the mother plant while this happens, which is what makes propagating strawberries from runners so easy. The mother plant continues supplying the baby plant with nutrients and water while it gets established.
Once the baby plant has developed a good root system, you can cut the runner connecting it to the mother plant. You now have a new, independent strawberry plant.
I think of it as the strawberry plant doing most of the work for me!
When Is the Best Time to Propagate Strawberry Runners?
The best time to propagate runners is while your strawberry plants are actively growing and producing runners. For many cold-climate gardeners, this means summer is a great time to get started. Once the plants have finished producing their main crop, they often put more energy into producing runners and new plantlets.
This is especially useful in short growing seasons because you can establish new plants while the weather is still warm enough for good root development.
When choosing runners, look for healthy, vigorous plants. I prefer to take runners from strong mother plants that are at least a year old and showing good growth. Avoid propagating from plants that are struggling with disease, poor growth, or pest problems. You want your new plants to start with the healthiest genetics possible.
What You’ll Need 🍓🌿
You really don’t need much to propagate strawberry runners.
Here’s what I use:
Healthy strawberry plants with runners
4-inch pots
Light, well-draining potting soil or compost
Water
A hair pin, paperclip, landscape staple, or flexible twist-tie
That’s it!
I like using small pots because I can place them right next to the mother plant. This keeps the runner attached while the baby plant develops its roots.
Step-by-Step: How to Propagate Strawberries From Runners

Step 1: Select Healthy Runners
Start by looking for healthy runners growing from strong strawberry plants.
Choose baby runner plants that have several healthy leaves and are developing well. The best runners are attached to vigorous, disease-free mother plants.
I don’t try to save every runner I see. Instead, I choose the strongest-looking plantlets. There’s no need to overcrowd your garden with weak plants when you can focus on propagating the healthiest ones. If your strawberry plants are producing several runners, you can choose multiple plantlets and start several new plants.
Step 2: Prepare Your Pots
Fill a 4-inch pot with a light, well-draining potting mix or compost. Place the pot close to the mother strawberry plant so the runner can easily reach it without being stretched or bent.
Make sure the soil is moist before placing the runner plant on it. You don’t need to bury the entire baby plant. The goal is simply to get the part of the plant where the roots will develop in contact with the soil.
Step 3: Anchor the Plantlet
This is probably the most important part of the process.
Take the baby plantlet and gently press the small node where the roots will develop into the soil. Then secure it in place with a hair pin, paperclip, light weight landscape staple, or flexible twist-tie. I made my own clips with by bending light weight wire.
You want the node touching the soil, but you don’t want to crush or damage the plant. I find this step especially helpful because strawberry runners have a tendency to move around. If the plantlet isn’t making good contact with the soil, it may have a harder time developing roots.
Once it’s anchored, leave the connecting runner attached to the mother plant. The mother plant will continue supporting the baby plant while it gets established.
Step 4: Keep the Soil Moist
Once the runner plant is secured, keep the potting soil consistently moist. This is important because the baby plant is trying to develop new roots. If the soil repeatedly dries out, root development can be slowed. At the same time, you don’t want the pot sitting in soggy soil. Good drainage is important, so make sure your pot has drainage holes.
I like to check the small pots regularly, especially during hot or dry weather. Since they’re small containers, they can dry out much faster than the soil around the mother plant.
Step 5: Give the Plant Time to Root
Now comes the hardest part for a gardener—waiting! Give the plantlet about 3 to 4 weeks to develop a strong root system. During this time, continue keeping the soil moist and leave the runner attached to the mother plant.
After a few weeks, you can gently tug on the baby plant. If you feel some resistance, that’s a good indication that roots have developed and the plant is beginning to anchor itself into the soil.
Don’t pull hard. A gentle tug is all you need. If the plant still feels loose, give it another week or two.
Step 6: Cut the Runner
Once your baby strawberry plant has developed a good root system, it’s time to separate it from the mother plant. Using clean scissors or garden pruners, cut the runner connecting the new plant to the mother plant.
Congratulations! You now have a new strawberry plant.
I always love this part because something that started as a tiny plantlet attached to a runner has now become an independent plant ready to grow on its own.
Step 7: Transplant Your New Strawberry Plant 🍓🌿
Once the runner has been cut, you can leave the new strawberry plant in its pot for a little while longer or transplant it into your garden. When planting strawberries, one important thing to remember is where the crown sits.
The crown is the area between the roots and the leaves. Make sure the crown is level with the surface of the soil. Don’t bury the crown. Planting it too deeply can cause problems for the plant, while planting it too high can leave the roots exposed. After planting, water the new strawberry plant well and continue keeping the soil evenly moist while it becomes established.

A Few Tips for Growing Strong Strawberry Plants
When you’re propagating strawberries, it’s easy to get excited and start rooting every runner your plants produce. But keep in mind that you don’t necessarily need dozens of new plants. Choose the strongest runners from your healthiest plants.
It’s also a good idea to give your new plants plenty of room once they’re transplanted. Good air circulation around plants can help reduce disease problems, and giving strawberries enough space makes harvesting much easier.
Keep an eye on your new plants during hot, dry weather. Young plants have smaller root systems and can dry out more quickly than established strawberry plants.
And don’t forget to mulch around your strawberries. A layer of suitable organic mulch can help conserve moisture, reduce weeds, and keep the berries cleaner when they’re producing fruit.
Why I Love Growing Strawberries
For me, growing strawberries is about much more than having fresh berries in the garden, but of course we love fresh strawberries. It’s about being able to grow something once and continue creating new plants from it.
We’ve grown strawberries for years, and I love watching the plants change throughout the season. First come the flowers, then the little green berries, and finally those beautiful red strawberries we’re waiting for.
When we have a good harvest, I freeze the extra strawberries so we can enjoy them long after the garden season is over. Frozen strawberries are perfect for so many things, smoothies, pies, ice cream, strawberry syrup, and strawberry crumb bars. There’s something pretty special about pulling strawberries out of the freezer in the middle of winter and remembering that they came from our summer garden. That’s one of the reasons I enjoy gardening so much. The work we do during the growing season continues to pay us back long after the garden is covered in snow.
And propagating runners is just another way the garden keeps giving.
How Many New Strawberry Plants Can You Get?
That depends on how many runners your plants produce, but a healthy strawberry plant can produce multiple runners during the growing season. If you have several established plants, you can easily end up with quite a few new plantlets.
Rather than allowing them to root randomly throughout the garden, I like to guide the runners into pots. This gives me more control over where the new plants grow and makes transplanting them much easier. It also gives you a simple way to expand your strawberry patch without purchasing additional plants.
For cold-climate gardeners, this can be especially helpful. We have a shorter growing season, so getting new plants established while the weather is favorable can give them a better start before winter arrives.
Don’t Throw Those Runners Away!
If your strawberry plants are producing runners, don’t look at them as something that needs to be removed right away. Look at them as free plants!
With just a little time and attention, those runners can become healthy new strawberry plants that will eventually produce berries of their own.
The process is simple: choose a healthy runner, place the baby plantlet onto moist soil, anchor it in place, keep it watered, wait for roots to develop, and then cut it loose from the mother plant.
That’s really all there is to it.
I love gardening methods that don’t require complicated equipment or expensive supplies, and propagating strawberries from runners is one of the easiest ways to get more plants for your garden.
🍓🌿My Final Thoughts
If you’ve never propagated strawberries from runners before, I hope you’ll give it a try. It really is one of the simplest ways to grow more strawberry plants, and once you see how easy it is, you may wonder why you didn’t start doing it sooner.
For me, gardening has always been about learning, experimenting, and finding simple ways to make the most of what I already have growing in the garden.
Those little strawberry runners are a perfect example.
Instead of buying new plants, I can take healthy plantlets from plants that have already proven themselves in my garden and grow them into new strawberry plants. And eventually, those new plants can give us even more strawberries to enjoy fresh or freeze for pies, ice cream, syrup, and strawberry crisp.
That’s the beauty of growing your own food. A little planning and a little patience today can give you something delicious to enjoy months from now.
Happy Gardening!
Debbie 🌿❄️🌸
Cold Climate Gardens
Helping Zone 3 & 4 Gardeners Grow with Confidence